
If you want to display the Ads by targeting name, id, classes, types, attributes, values of attributes and much more then by using our jQuery Selectors option you can easily display the ads on that targeting places
Follow these simple steps:
You will find this option in WordPress Dashboard -> Navigate to Ads -> Click on the “Add new Ad” button.
First, select the Image banner Ad option and upload the image

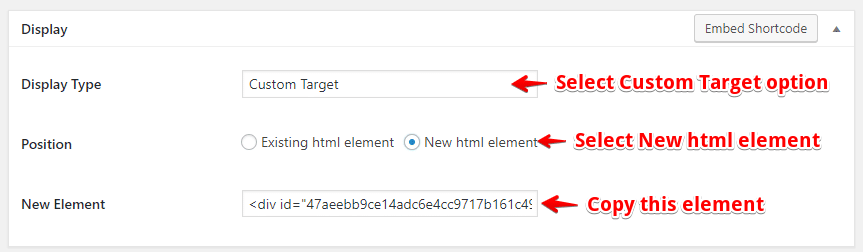
Display Type: Select the “Custom Target” option.
Position: Select the “Existing html element” option
jQuery Selector: In this field, you need to add “class” or “ID” where you want to display the Ad
Action: In this option, there are two option “Before Element” or “Inside Element“.
Inside Element: If you select the Inside Element option the Ad will be displayed in below the “class” or “ID“.
Before Element: If you select the Before Element option the Ad will be displayed above the “class” or “ID“.

If you don’t want to use the “Existing html element” and you want to create new element then use “New html element” option. By using this element you can copy the given div element and you can paste it where you want to display the Ad on your website.
In this section, you need to set the condition for the specific post or page or all posts where you want to show “Ad” like below the screenshot

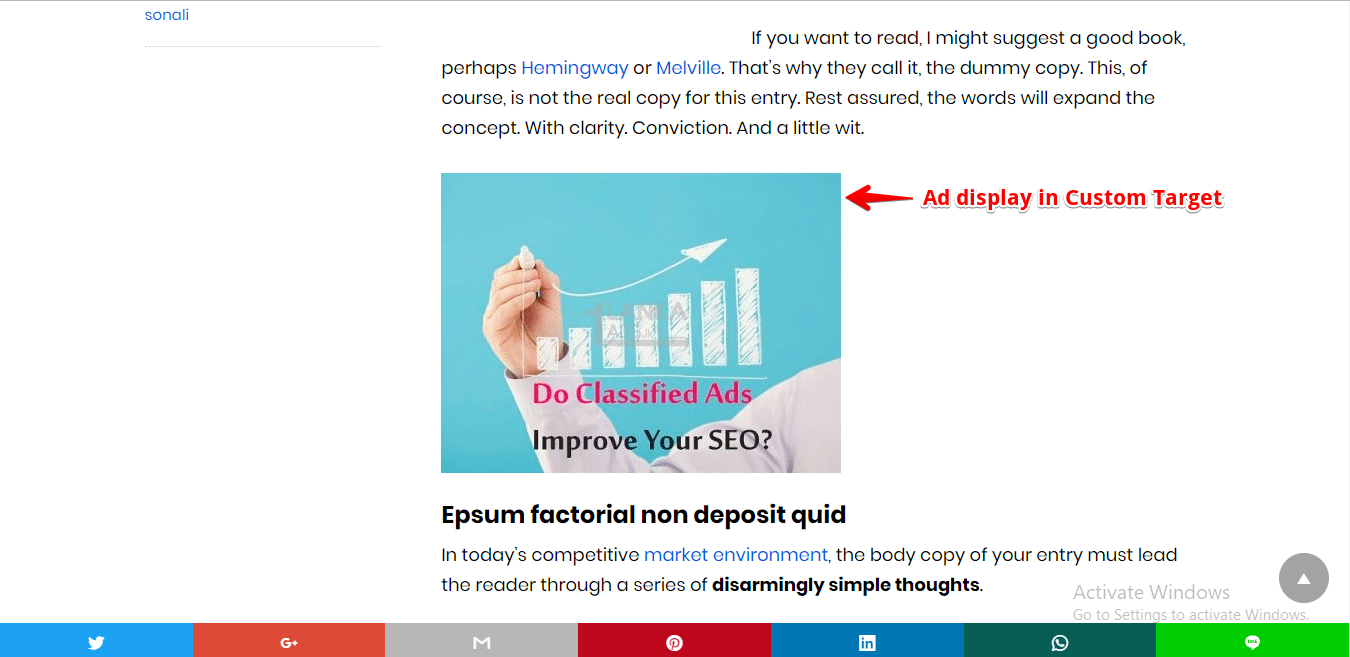
The output of the ad in the custom target by using jquery selector
That’s it for this tutorial!
We hope we’ve clear your doubts in case If you have any feedback or questions, then please share them in the comments section below.
Or you Just contact us here and we are always available for you.