
Floating ad (also called layer ad or overlay ad) is a special type of ad that flows/slides into the main page using animation. You can set a delay before the ad begins sliding into the page. You can also set the ad position on the main page. The user can click on a Close button to make it disappear.
Follow these steps to add Floating ads:
You can download ADSforWP Plugin from here.
Step 1: After installing this plugin Ads option will be displayed on the WordPress dashboard ->Ads Option -> create new Ads.
Step 2: In Ad Type, you need to select the Ad type as per your requirement. for example, I am selecting the DoubleClick option.
Step 3: In this option, you need to enter slot ID, Div Gpt Ad you will get this ID from DoubleClick Account.
Step 4: In Size, you’ll see the number of ads size which you can use as per your convenience.

Display
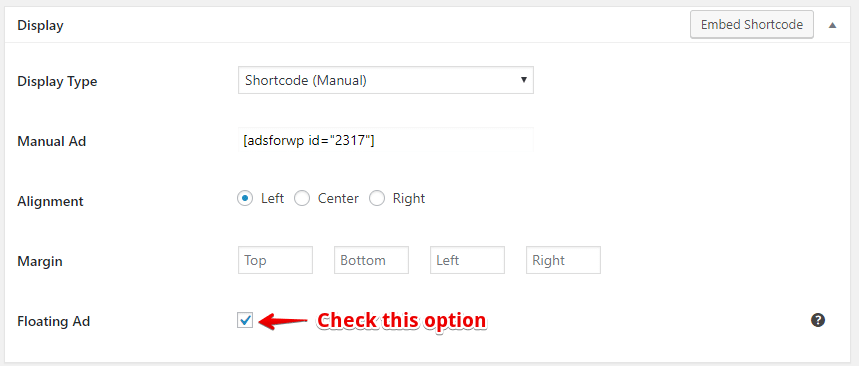
- Display Type: In Display type, you’ll see the number of display type which you can use as per your convenience. However, if you want to display the InContent Ads as the name suggests it is used to display the ads in the content of your post by simply putting between the paragraphs.
- Alignment: This option allows you to select the alignment option of the ad.
- Margin: You can also set the margins of the ads as per your taste.
- Embed Shortcode: Copy the shortcode and place where you want to display the Sticky Ads.
- Floating Ad: Enabling the option will make the ad float on content scroll.
Advanced Display Conditions

- In this section, you need to set the condition for the specific post or page or all posts where you want to show Floating Ads.
The Output of the Floating Ads

That’s it for this tutorial!
We hope we’ve clear your doubts in case If you have any feedback or questions, then please share them in the comments section below.
Or you Just contact us here and we are always available for you.